My Second Bat house
Welcome! This page documents building a rotational mold on a shoe string budget by welding together pieces cut from scrap molds. Please visit my About page if you are curious about the weird web site name or why I suddenly became interested in bat conservation again after a twenty year hiatus. Possibly find out what put this fool notion of mass producing plastic bat houses in my head.
Rotational molding, while slower than other molding processes also happens to have much lower tooling costs than more familiar ones such as injection or blow molding. Sadly, much lower is still not quite cheap enough for me to afford (I'm maintenance BTW not some high up muckety muck) However, rather than do the logical thing and give up on fool notions and perhaps visit my local building supply, buy some lumber and simply build myself a bat house.
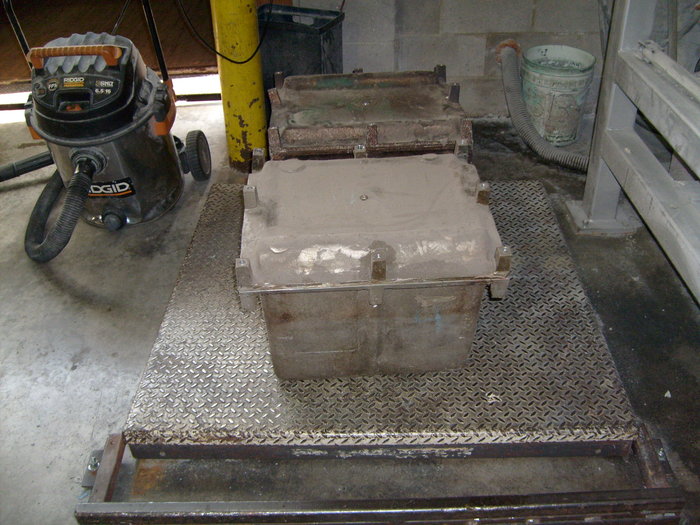

Bit of whacking and it is starting to resemble something kinda sorta like a bat house mold. Well, at least to visionaries and lunatics. Will leave it to the good reader to decide which category I belong to. :)
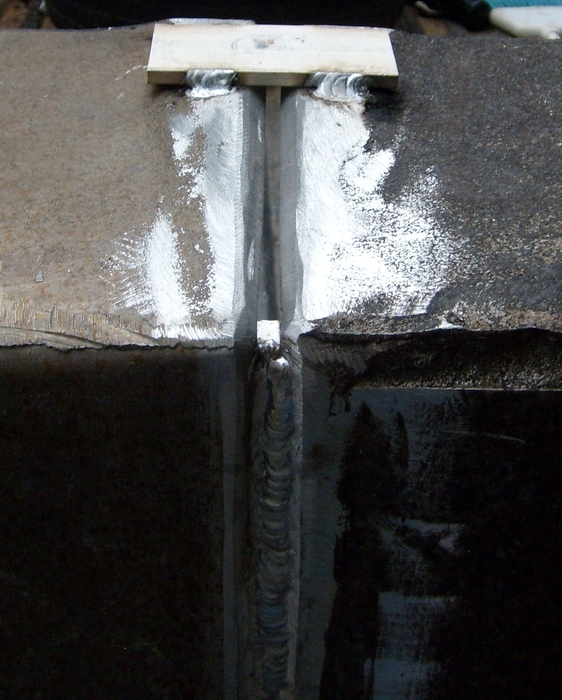
Sides tacked together and couple of passes across the front. The 1/4" flat bars on the outside of the mold were temporary and removed later as the sides were welded.
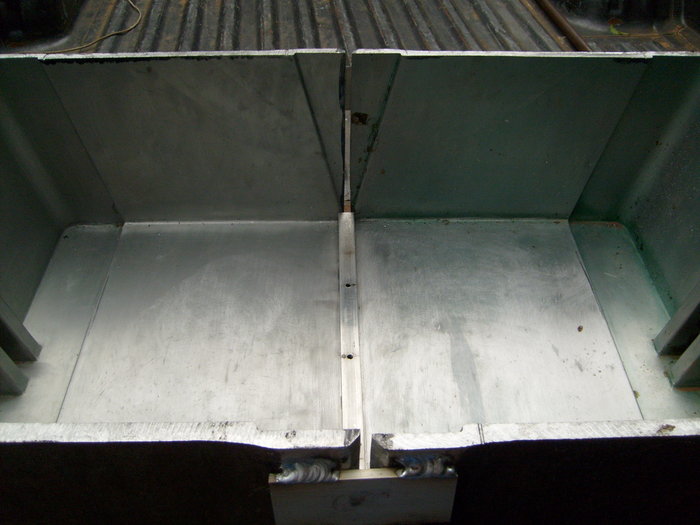
The 1/2" X 3/4" bars inside the mold serve as a backer strip for the weld thus hiding my welds from showing in the finished part. Missed by a few inches having the bars serve another purpose. For these bat houses to achieve BCI certification (a very important goal) then a horizontal vent slot will need to be cut across the front 1/3 of the way up from the bottom. Would have been a neat hiding place having the vent in the bottom of an existing slot. Addendum: The backer bars proved to be a huge mistake. Resulting slot detracts from the visual appearance of the finished bat houses even more than a visible weld would and complicate installing the baffles. Bar has been completely removed across the front and thinned on the sides.
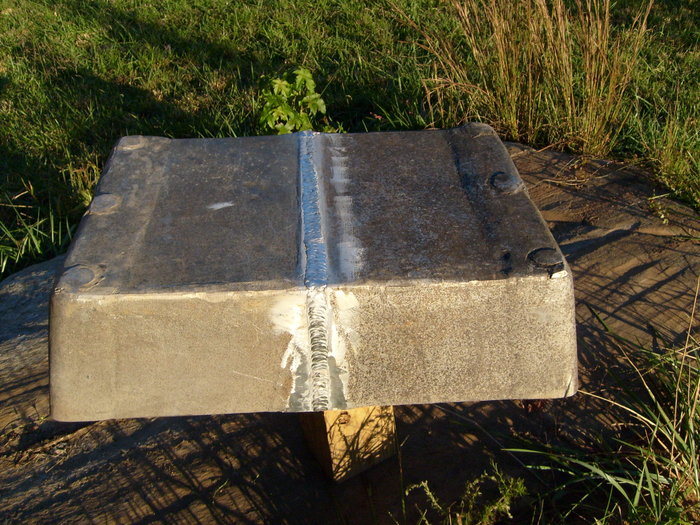
A few months delay and the two halves are finally welded together.
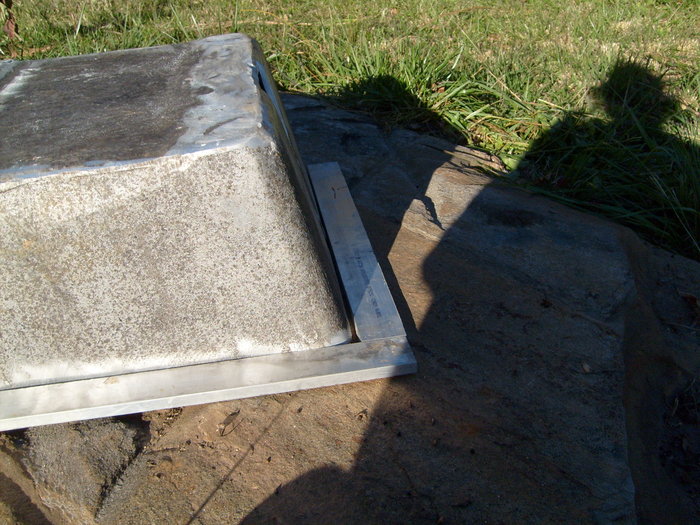
The beginning of the parting line flanges. Tried to re-use the cast ones from the original molds, way too many short pieces to make it worth while. 1/2" X 2" bar stock was from an on-line metal store.
Few more weeks delay and the parting line flanges are done. Material for the lid was acquired through trade. Swapped a large scrap of 1/8" checker plate and $8 for a similar sized scrap of 1/4" smooth plate. Any one who has ever seen the movie Thunderheart will recognize the quote "Nice trade." I certainly think so!
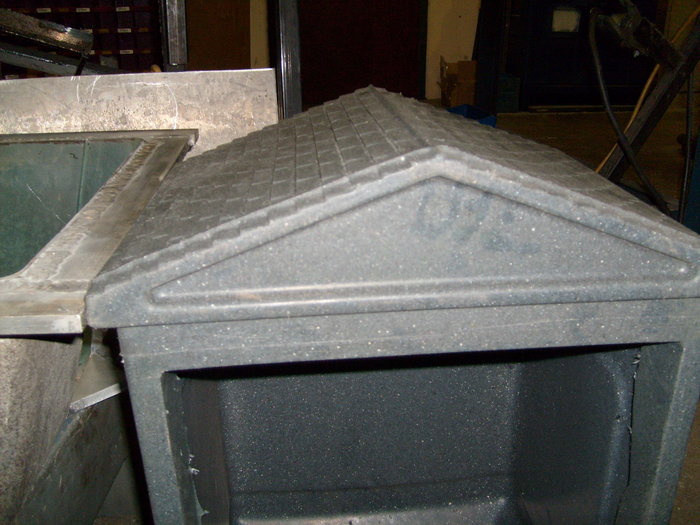
Beginnings of a decorative dormer. Wish the roof was a little steeper so the dormer could be larger. Also wish my molds roof had a simulated shingle texture like a few of the professionally made molds at my work have. However, those molds run an order of magnitude more than I will have in this one.
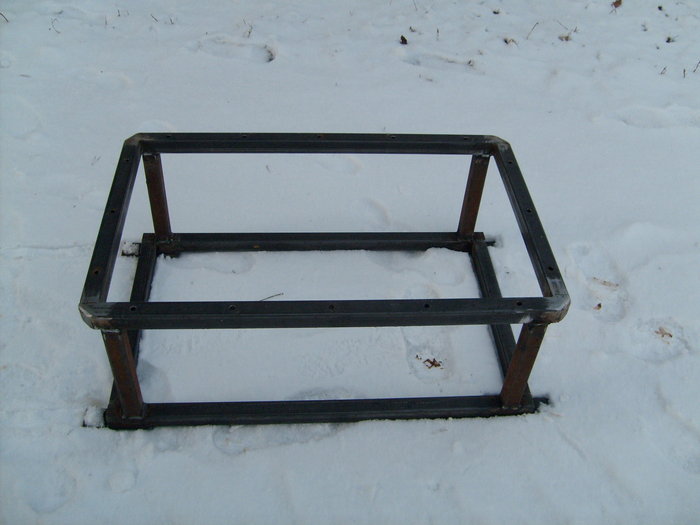
Finished welding the frame the day after Christmas 2010 behind the house standing in snow. (No 220 volt electricity in the barn / shop)
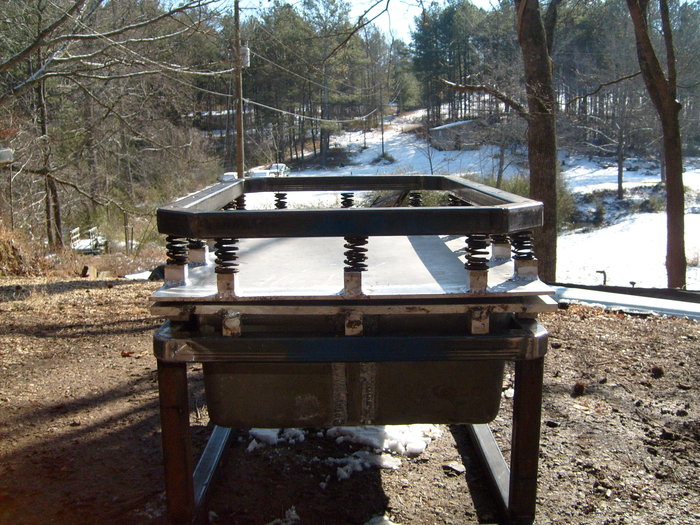
Starting to come together in this trial assembly. Thanks to my son for 16 used auto valve springs. Saved me over $80 not buying die springs which are the norm with most sprung rotational molds.

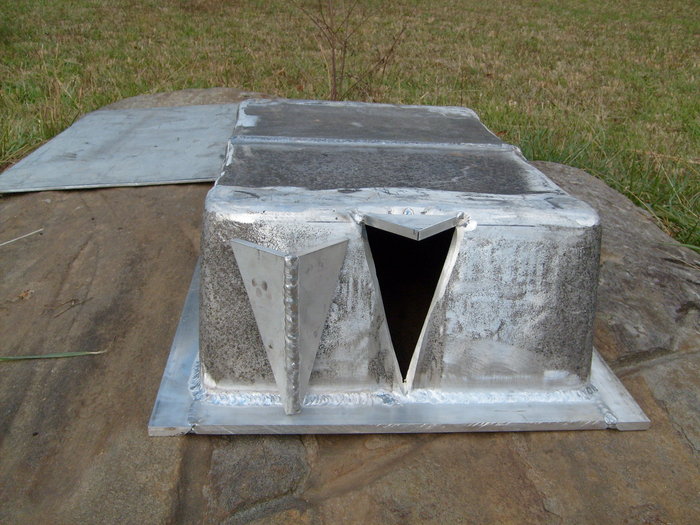
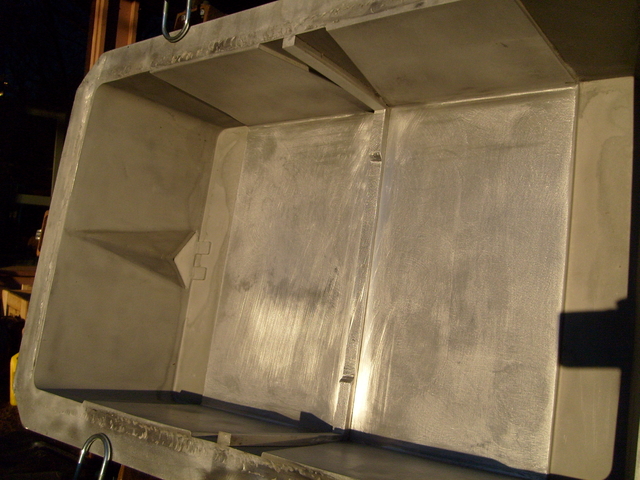
Mystery feature. The 'lid' of the mold forms the back of the finished bat house. The pocket in the above picture will thus form a similarly shaped pocket in the top back of the bat houses. What is it? Big thanks to "Terry L" over at the Bat House Forum for this idea.
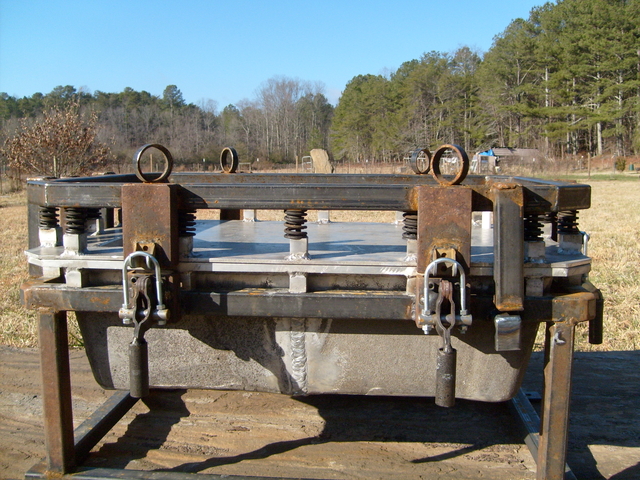
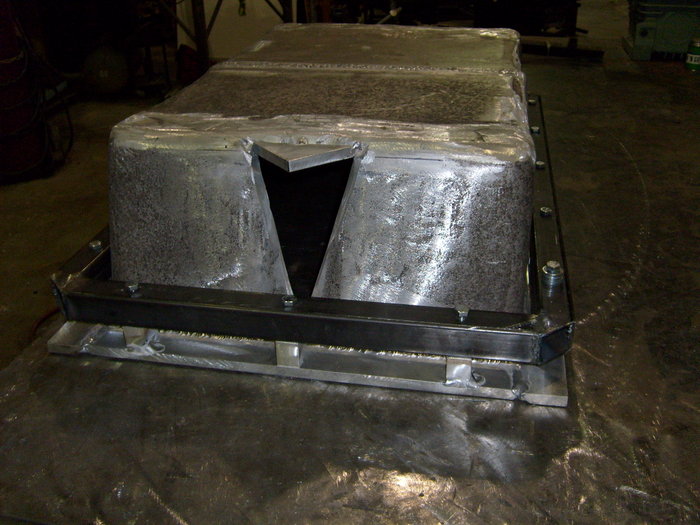
Out side is now completely done. Full up with clamps, lifting rings and the 'pry' points to get the lid off in case it gets stuck. The 3" channel the clamps are attached to is a bit rusty since it was stored out doors for 20 years. Most 'store bought' molds use 2" box tubing here, however I did not want to buy a full stick just to get a few short pieces. Rusty channel will do fine:) BTW the mystery feature above is was a 22 1/2 degree French cleat to hang the bat house with while remaining screws are installed.

Aggravating last minute detail that I had known would be a problem from the very beginning. Quite time consuming to remove this reverse draft step in four places with inadequate equipment
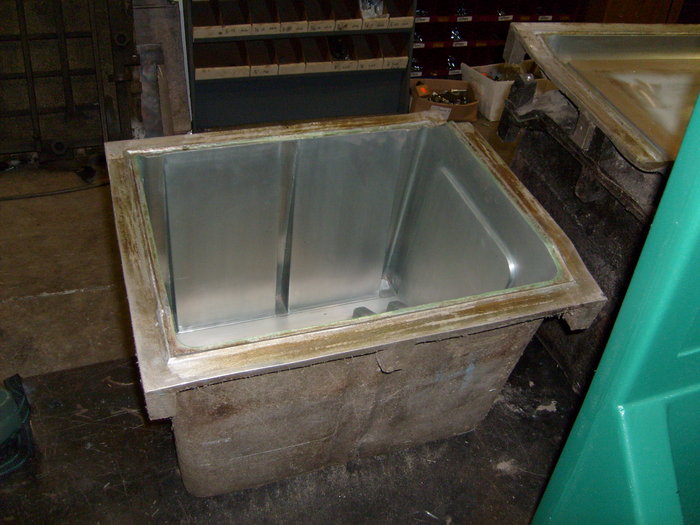
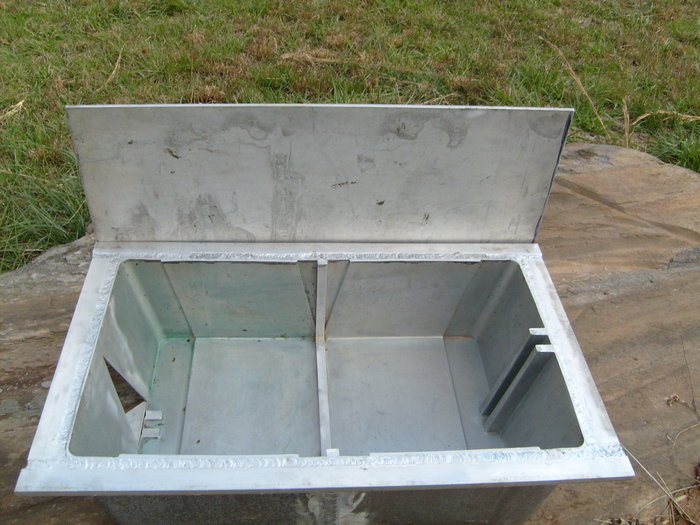
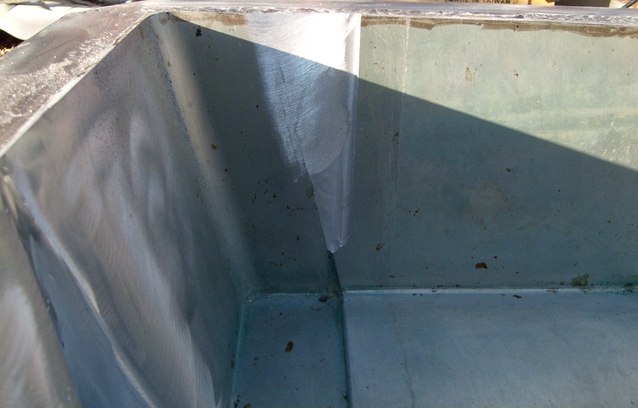
And now the inside is done. Sand blasted texture on the ends (top and bottom of bat house) contrasts nicely with a smooth sanded middle. A shot peen verses polished finish will contrast even better once I start selling a few and can afford to have this done.
Mold finally ran February 16 2011. Yeah!

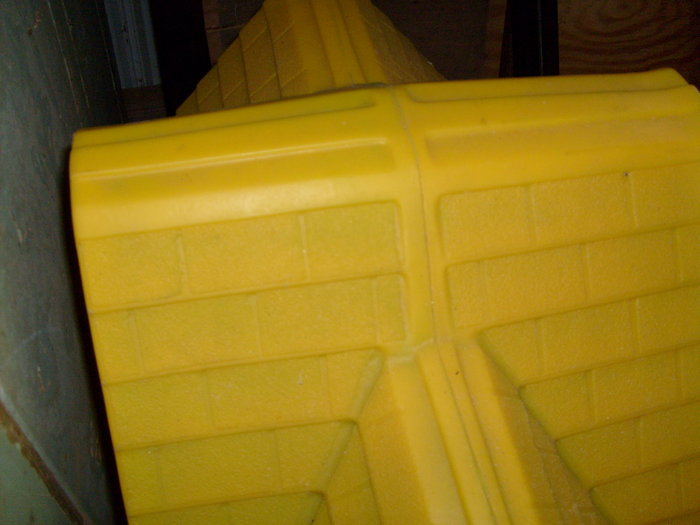
Not quite as cute as I had hoped for. However, debuting as the best looking alternative material bat house on the market is no small achievement.

February 28th 2012, just over a year since the initial prototypes, my mold was back up for a brief final beta run. Only five this time and much better looking without the goofy looking 'belly band'. More bat house pictures on the home page.
Thanks for visiting! As Jed Clampett once said, "Ya'll come back now ya hear."
William Bagwell
